Check in App/Swipers
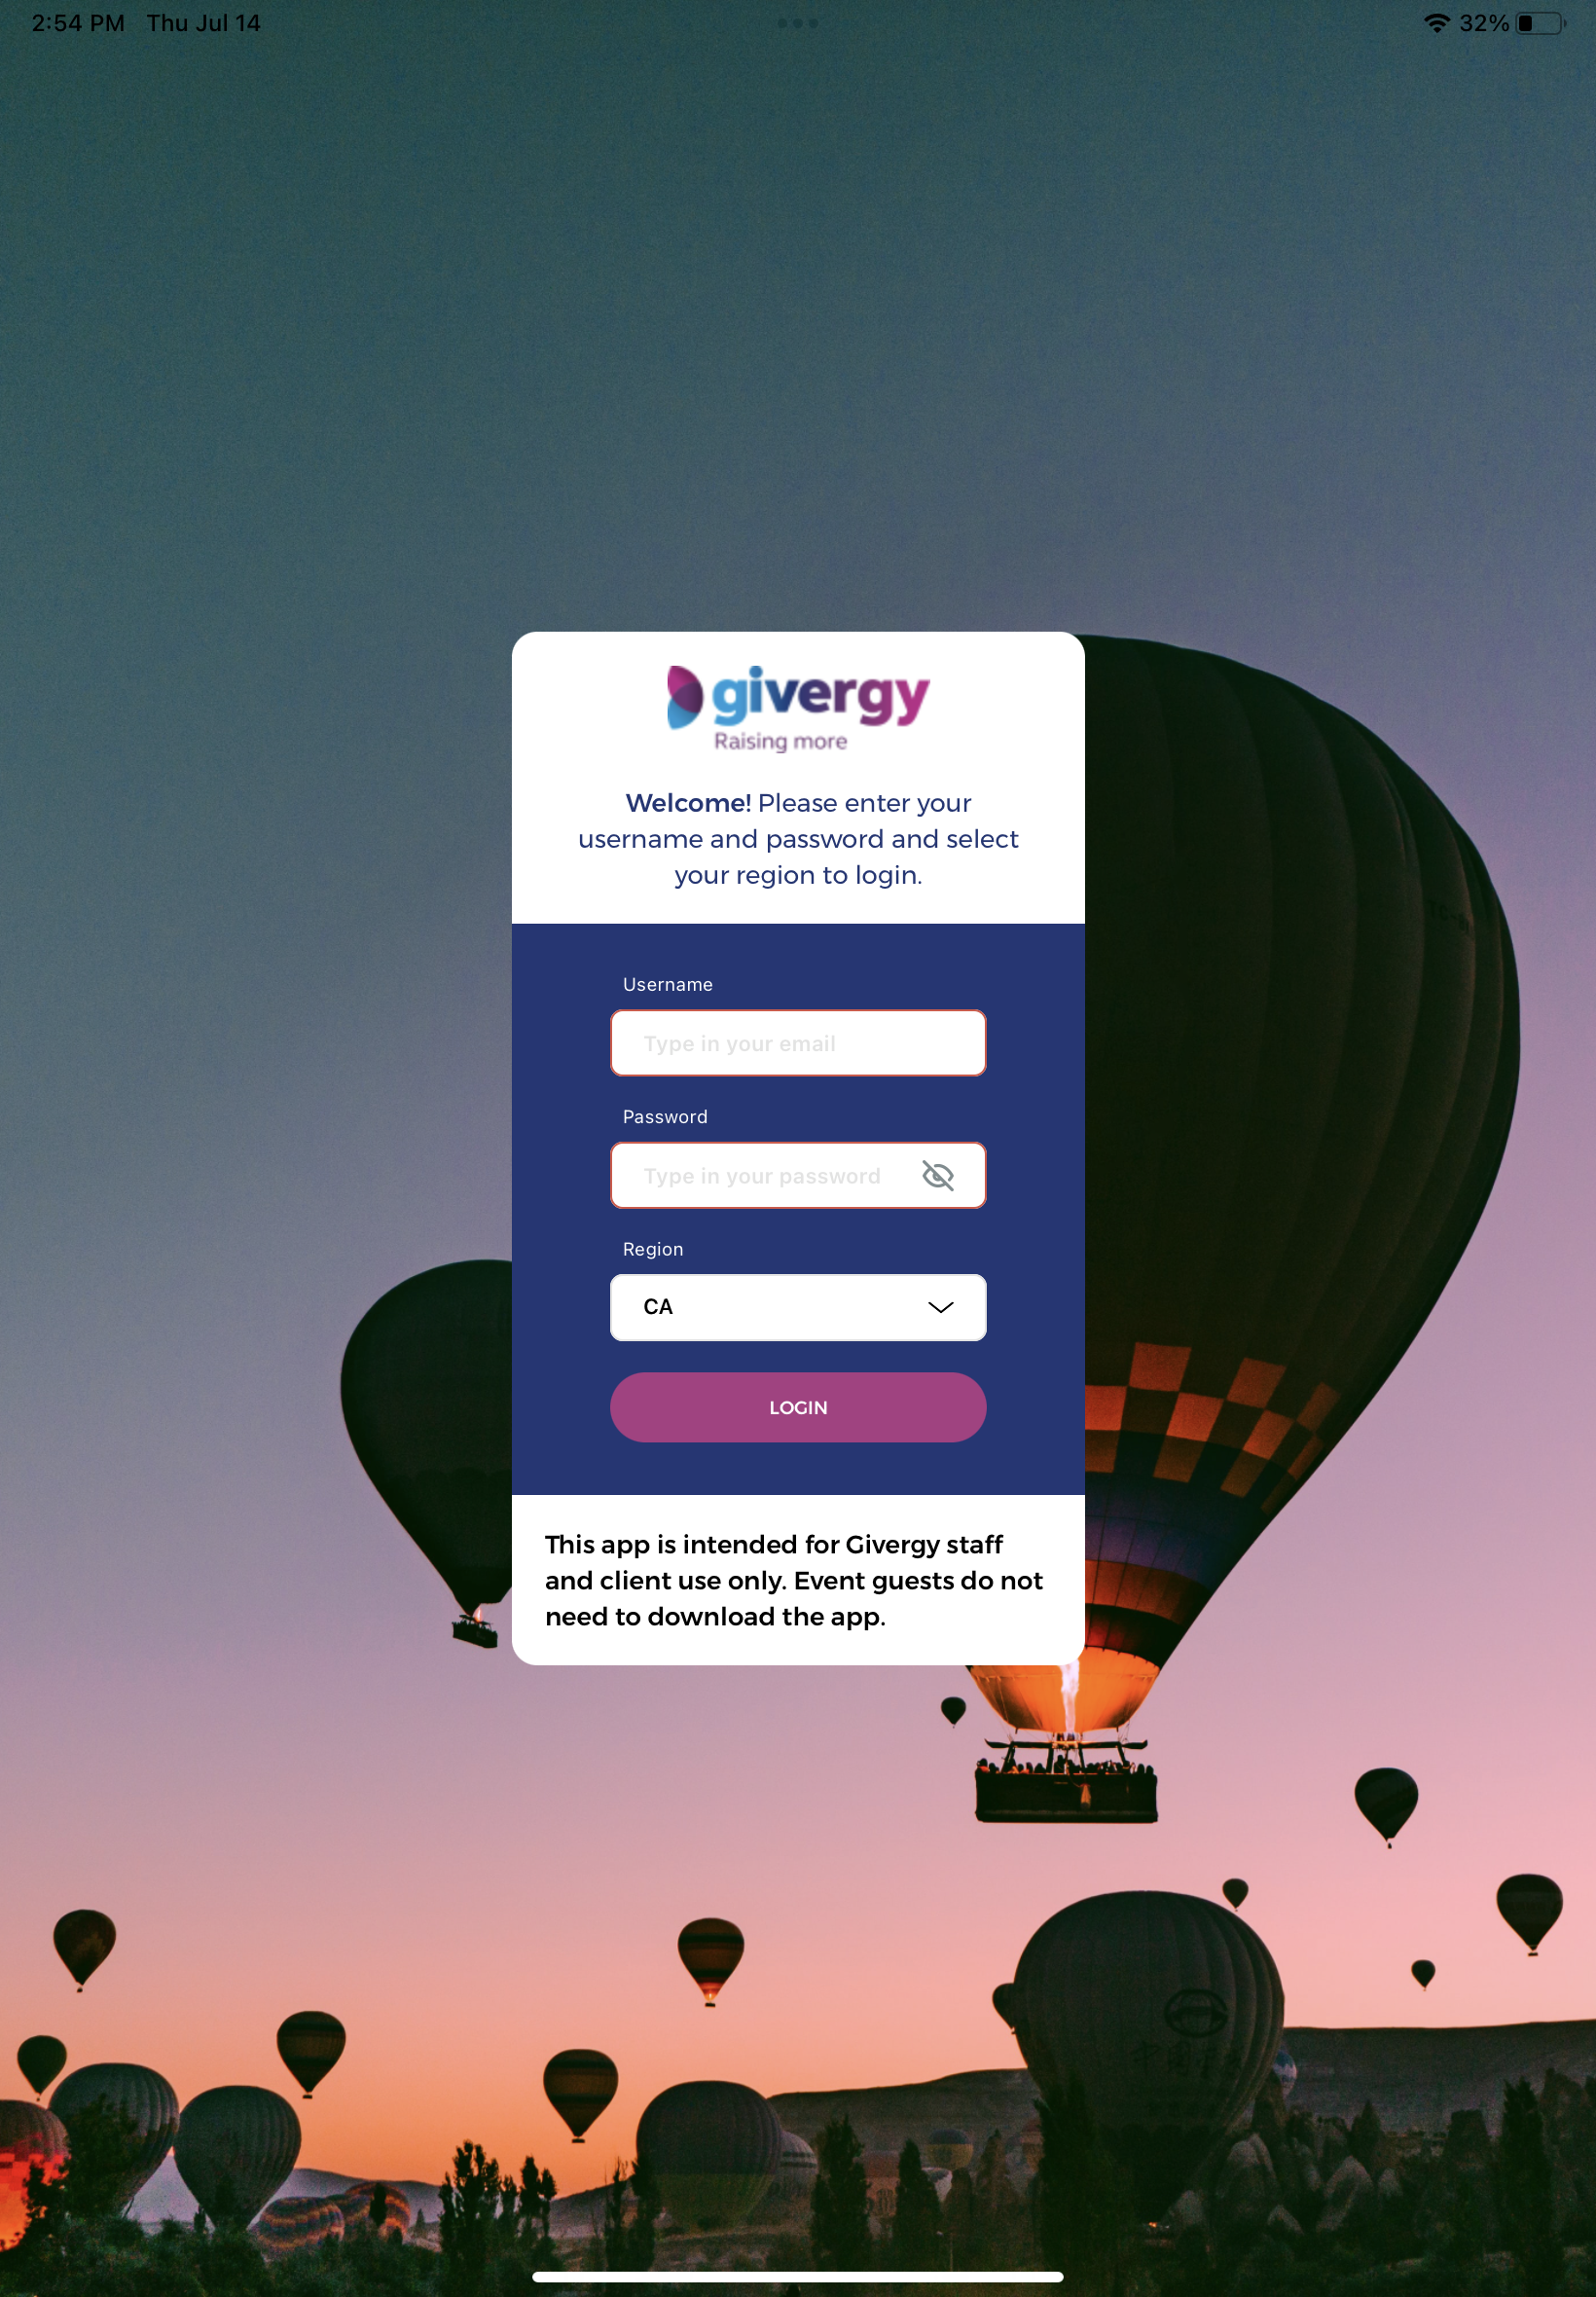
Open the Givergy application on the iPad provided in your kit. You will be prompted to login and select a region. The login details will have been provided by the CSM in your event brief. If you have your own login credentials for the CMS, they can also be used here. (Other region will be noted at bottom of the article)
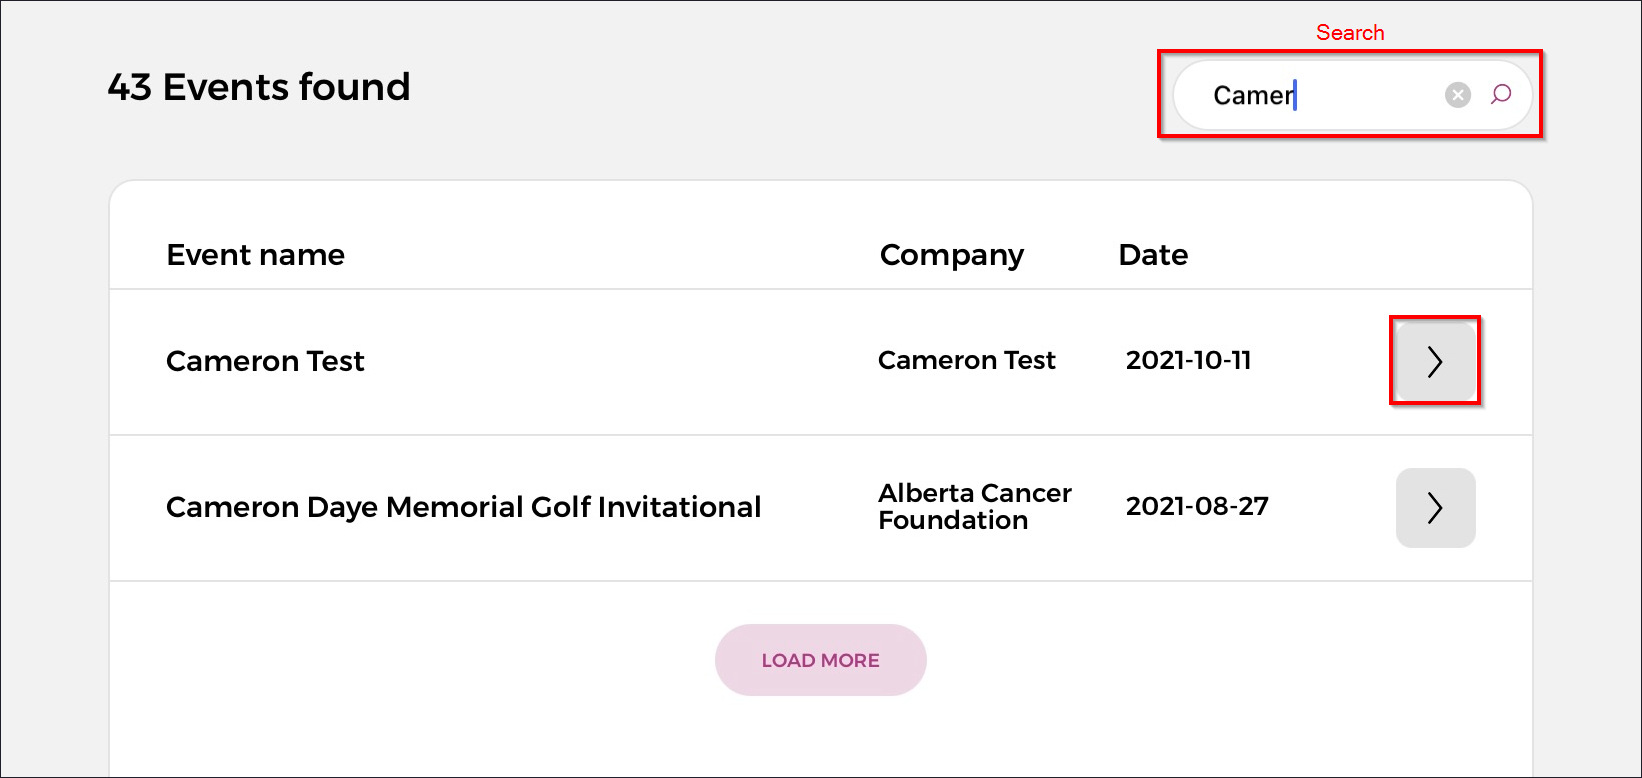
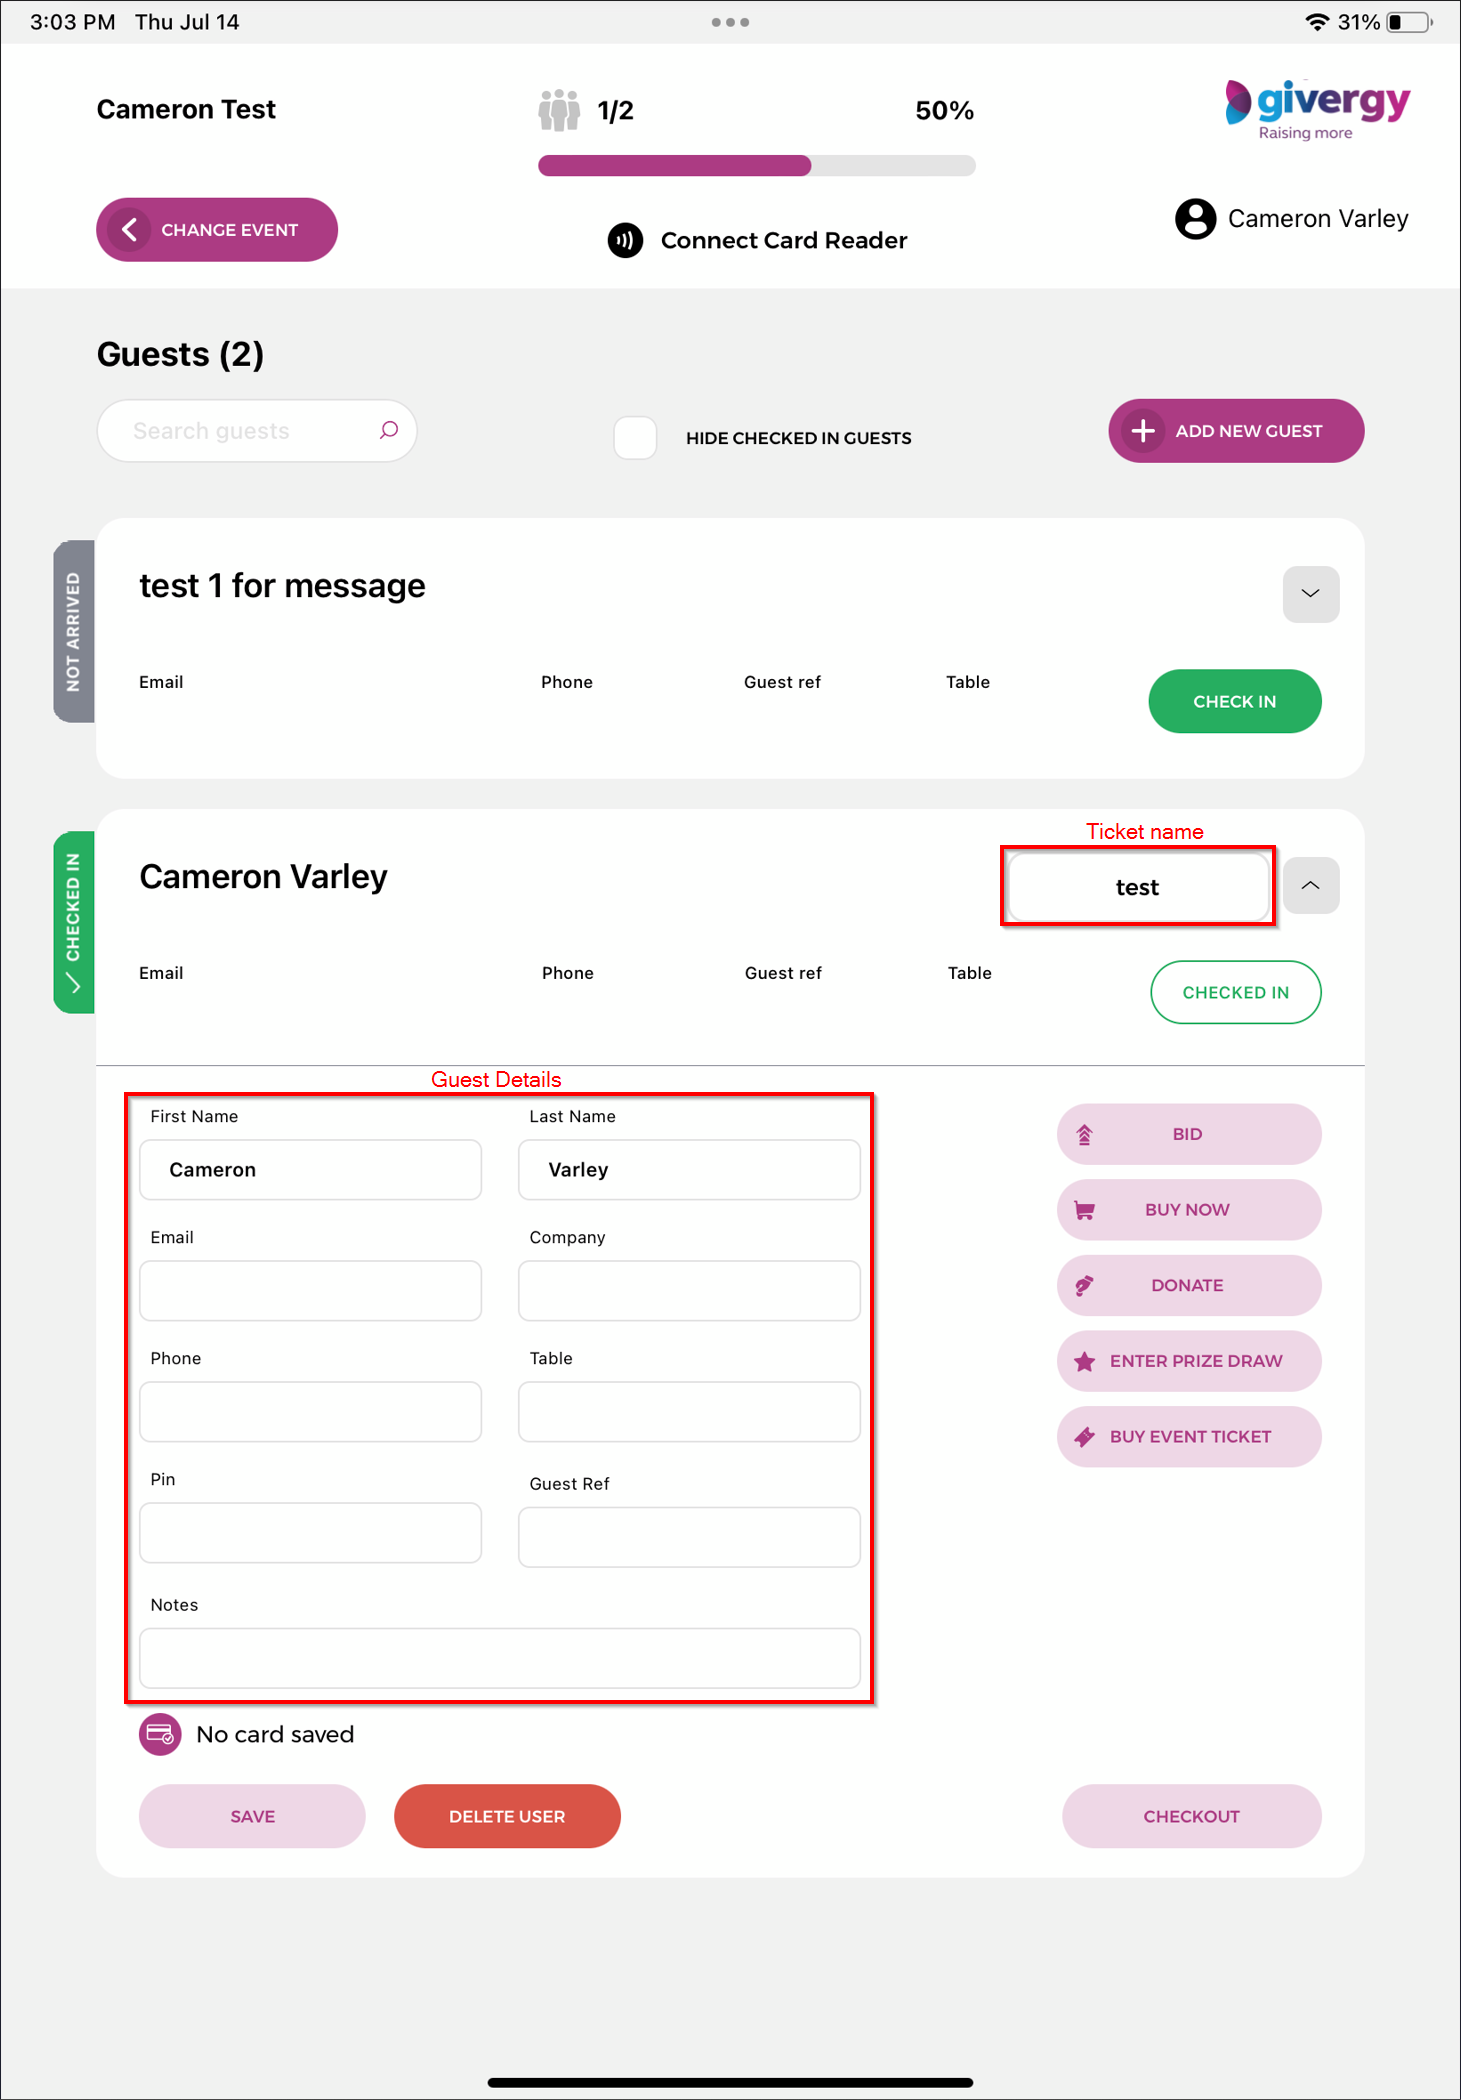
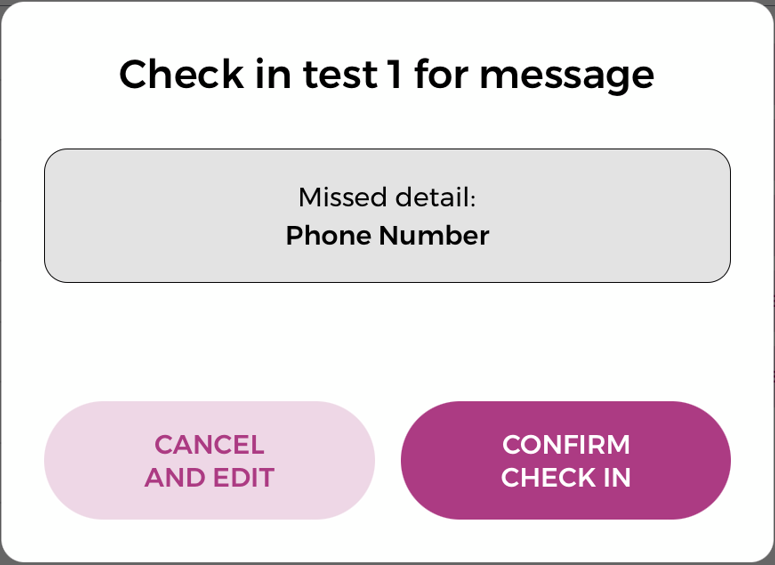
At this point the guest has been checked in and will receive a text message detailing the table information and a link to visit the website to complete registration.
Connecting Swipers
To be completed when able to demo swiper connectivity
Clicking the connect card reader option at the middle top of the app will present a dialog containing a list of nearby swipers. Match the last 4 digits with that on the swiper itself. When checking in a guest it will prompt you to swipe the guests card before confirming check in.
Bid
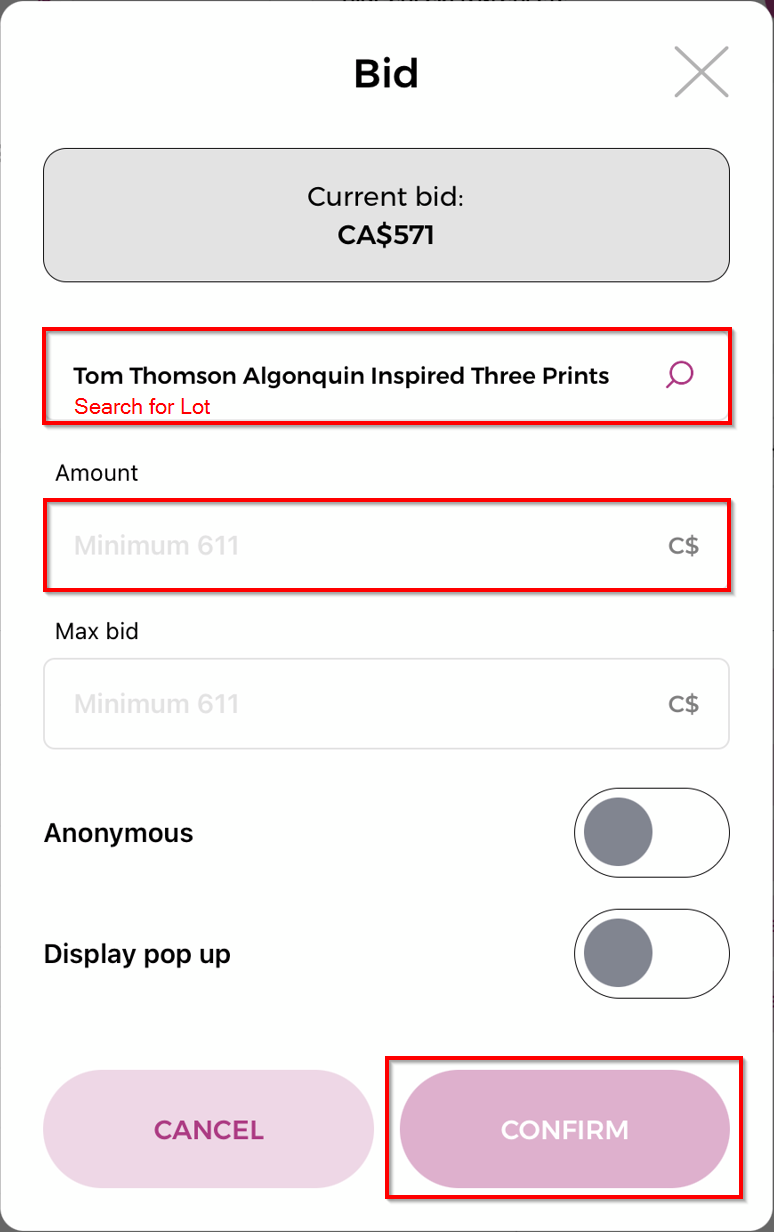
Clicking Bid on the guest information screen will present the below popup allowing you to search for the lot. The boxes shown in red below are required for the bid to complete. The “Display pop up” will force the bid to show on a leaderboard that has popups enabled. The dialog box will also show the current and the minimum bid required.
Buy Now
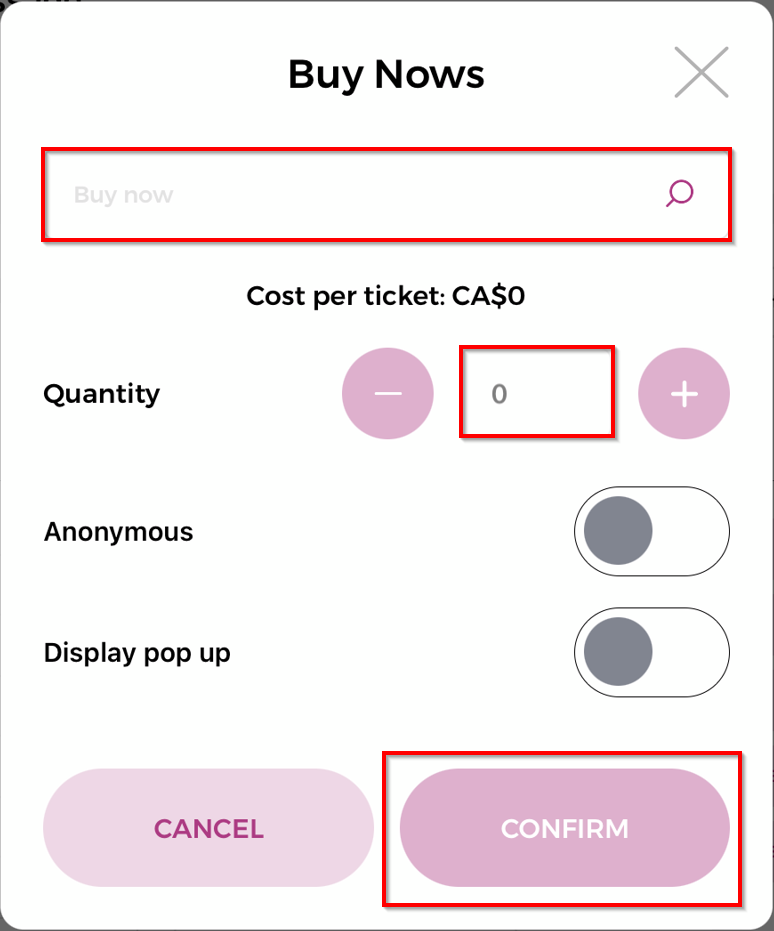
Selecting “Buy Now” on the guest information will present a dialog box similar to the “Bid” box. Enter the item that the guest wishes to but and then select the quantity before hitting the confirm button. Guests can either pay for them right away by using the checkout option detailed in the following section or wait till the end of the night.
Donate
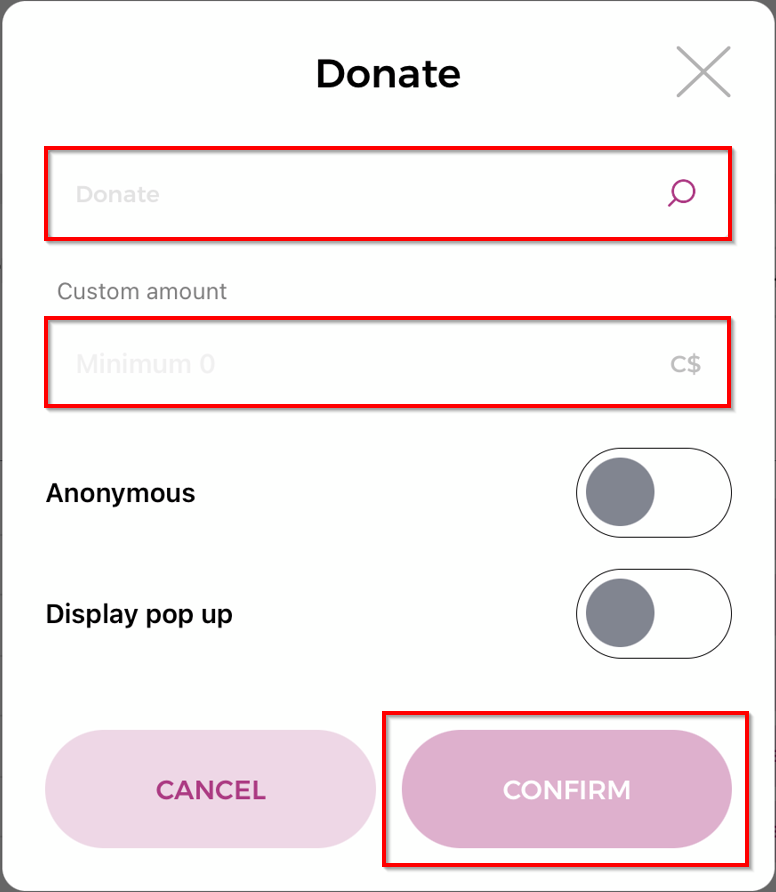
Selecting Donate will open the donation dialog. In the first text box select the donation level which will automatically populate the amount. From there you can increase the amount from the pre filled amount. Clicking confirm will add this item the guests cart for immediate or future checkout
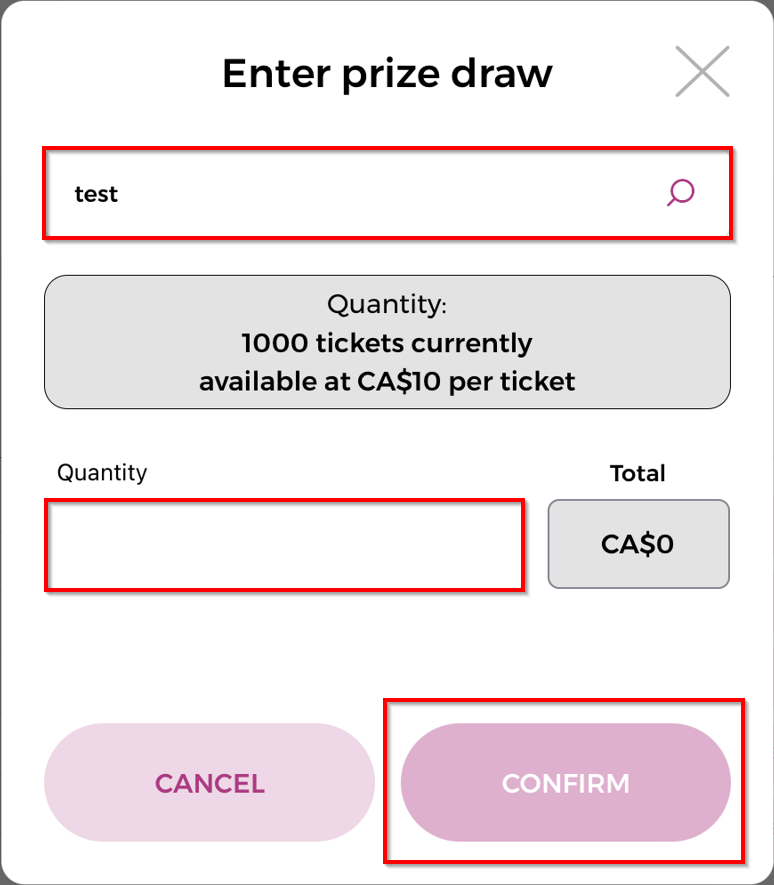
Buy Event Ticket
Selecting Buy Event Ticket will open the below dialog allowing you to add a ticket to the guest. Select the ticket using the first box and then add the quantity of tickets requested. Clicking confirm will add this ticket to the cart for immediate or future checkout.
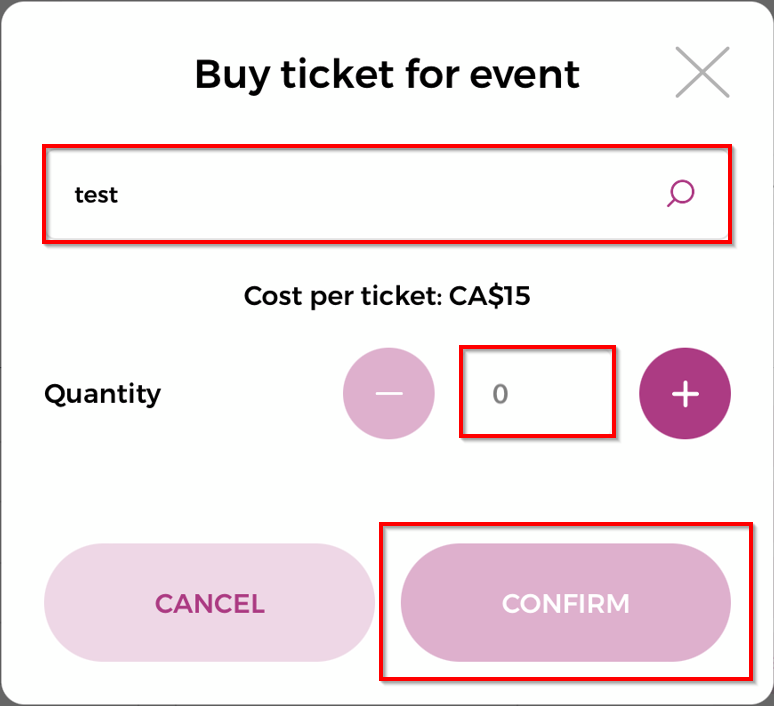
Checkout
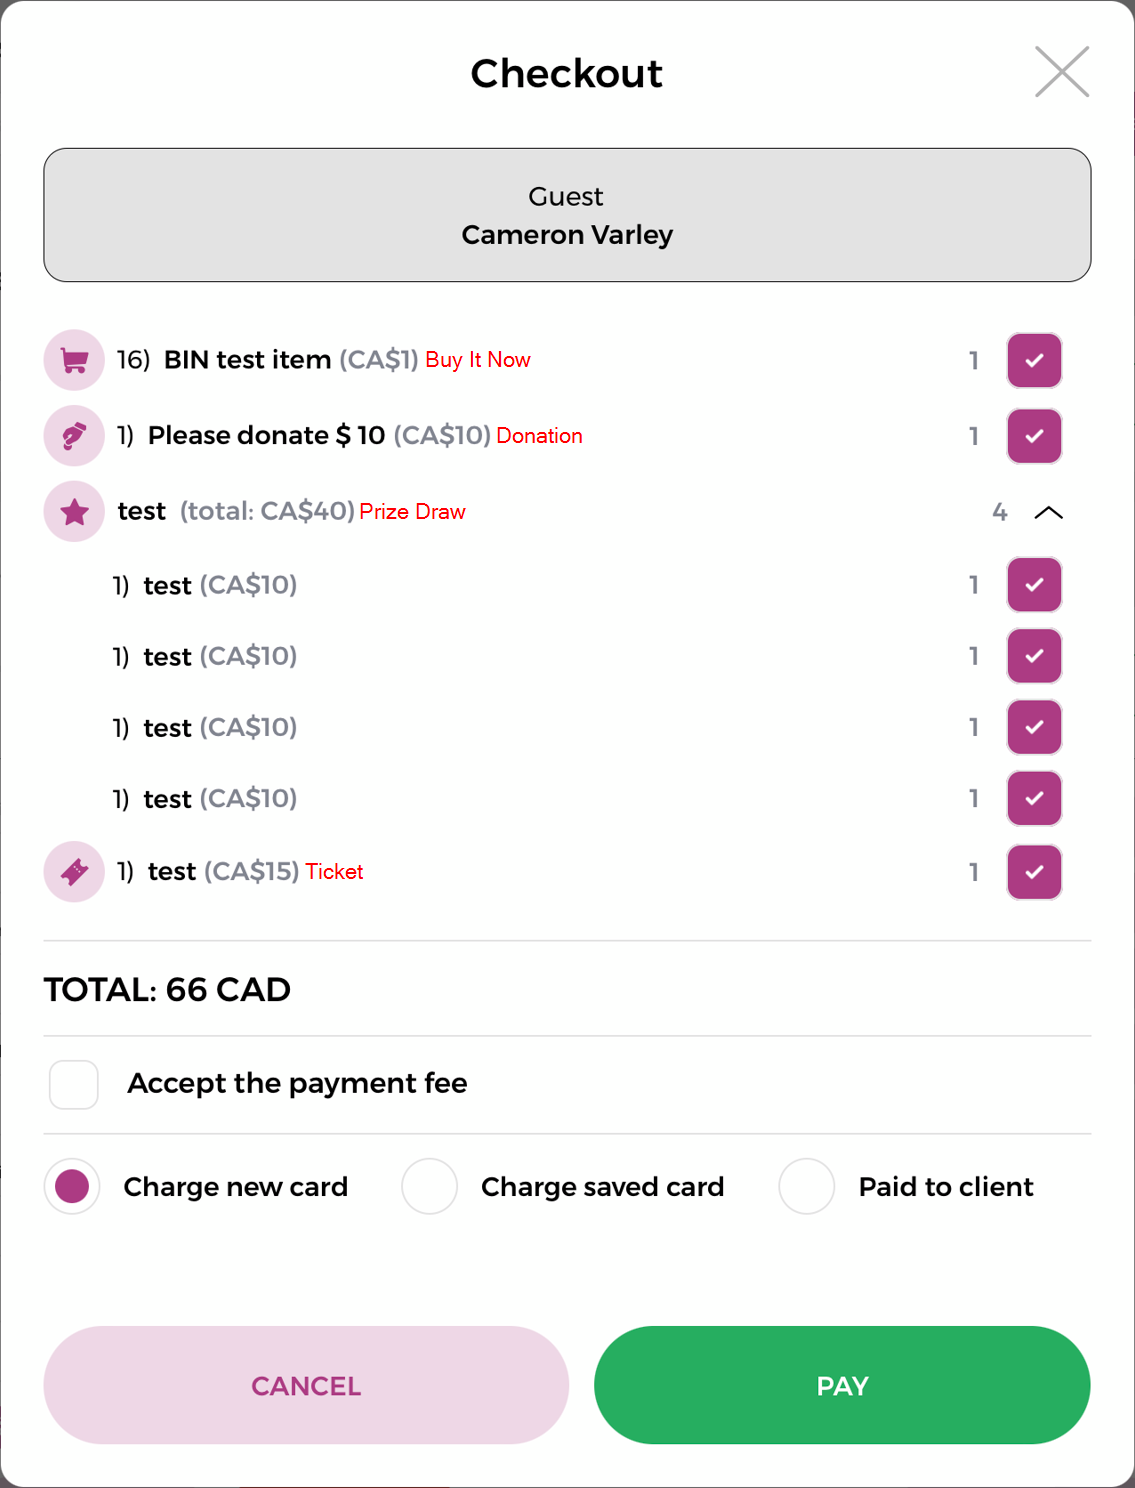
Clicking Checkout will bring up the guests cart, an example of which is below. From here you can add the payment fee, remove items, and charge a card. Selecting “Charge a new card” will prompt you to scan the credit card using your connected swiper, if you do not have a swiper you will need to charge the guest from the CMS with the card details. Charging a saved card will charge any card that is saved to the guests profile. Paid to client would be the equivalent of a check or cash payment handed to the client directly.
